Wow, where has the month gone?
Mine has been spent in a frenzy of whipping eggs whites, conference calls, chasing tails, decorating pink hippos and keeping us all amused while house bound through band after band of storms drenching Seattle. The dog is not very happy and neither are my hostas.
There are now 10 days until Christmas and seven until Solstice. I cannot wait until Solstice- the
days slowly get lighter and it feels like even for the gloomiest Gus, things are going to get better
from there on. Soon we can leave our offices in the evening dusk and by March, we're able to do all
our dog walks in the light. We won't feel so housebound. I long for that. In order to keep myself busy in the evenings, I have been making marshmallows and foisting them upon friends, colleagues and neighbors.
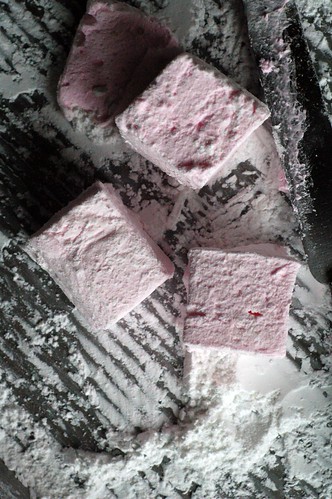
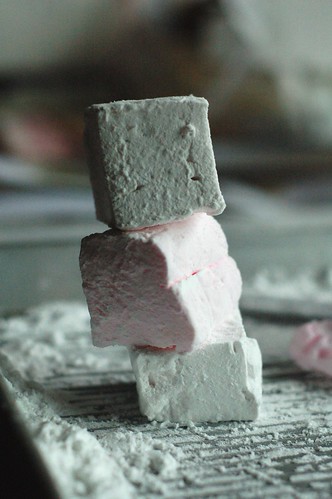
They are so simple to make and taste nothing like the overly sweet uniform cylinders you have leftover from your July attempt at making s'mores or the stuff you used to get in your bowl of lucky charms. These are a rustic concoction that take only about 25 minutes to make and can be flavored with many different extracts or liqueurs to appeal to any taste.
If you have kids you are trying to amuse during the holidays, this might keep them occupied for part
of the afternoon. Mostly helping you measure, watching the marshmallows form as the gelatin and the
sugar syrup combine and then helping you cut and coat the final product.

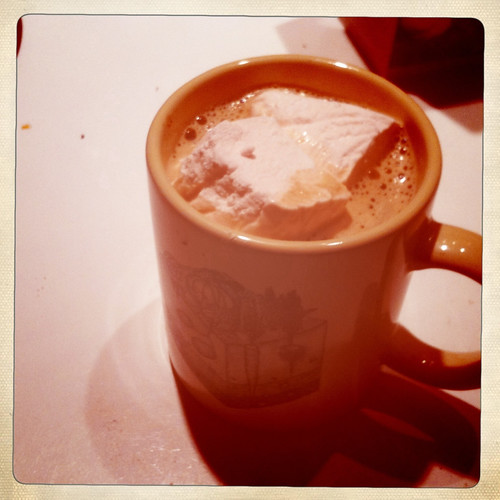
Then you can all relax with a cup of hot cocoa topped with one of these beauties.

Basic Marshmallows with a few variations (adapted from Martha Stewart)
Makes approximately 36 marshmallows
Equipment:
stand mixer with a whisk attachment
spatula
9" x 9" square pan
or 13" x 9" pan
saran wrap
heavy bottomed 1 qt pan
wooden spoon
Base Ingredients
3 packages knox or equivalent in powdered gelatin
1/2 t flaked sea salt
1/2 cup cold water
2 cups sugar
2/3 cup corn syrup (I used karo)
1/4 cup water
1/2 cup potato flour
1/2 cup confectioner's sugar
Flavorings - use on of the following, or experiment
Vanilla
2 t vanilla extract
Mint
1/2 t peppermint extract
1 drop electric pink or green gel food coloring (optional)
Orange
1/4 t orange extract
1 drop electric orange gel food coloring (optional)
Lemon
1/4 t lemon extract
1 drop yellow gel food coloring (optional)
Framboise
1 T framboise liqueur
Chocolate-Cointreau
3 T cocoa
3 t cointreau
Directions:
Cut saran wrap to cover the bottom, sides and give you over hang on your pans, this may vary depending on your pan size. Make sure all sides of the pan are covered with saran wrap. Spray generously with spray oil. I suggest doing this in the sink, the stuff goes everywhere and is slippery.
Pour gelatin into bowl of stand mixer, sprinkle 1/2 cup of water on gelatin, let sit for 10 minutes.
While gelatin is sitting, combine sugar, corn syrup and water into a heavy bottomed pan and stir over
medium heat until all ingredients dissolve. When dissolved, increase heat to medium high and let
mixture come to a vigorous boil for 2 minutes making sure to brush down sugar crystals from the sides
of the pan back into the mixture.
Remove from heat.
With whisk attachment running at medium speed, add salt to gelatin. Carefully pour hot syrup mixture
into bowl of stand mixer taking care to try and have the mixture run down the side of the bowl. This
decreases the chance of it splattering hot syrup on you. Increase the speed to high and whisk for five
minutes, at this time, you can add the gel food coloring to your marshmallows. Fear not. The color may
seem intense at first, but as the volume of marshmallows increases, the color will dissapate and
mellow.
At 10 minutes, add flavoring or in the case of the chocolate/cointreau add both cocoa and cointreau now.
At 14 minutes, turn off mixture and working quickly with a cooking oil coated spatula or hands (I use a spatula), remove the marshmallow mixure from the bowl and place into prepped pan, smooth out with spatula which you may need to coat again. It is not going to be completely smooth, they are homemade. Spray the sides of the saran wrap overhang if you haven't already and cover the top of the marshmallows so they are completely covered.
Let them sit to cure for approximately 6 hours. I like to do let them sit overnight.
When they are ready to cut, mix potato flour and confectioner's sugar together and place in a flat
rimmed cookie sheet or jelly roll pan. A pie plate will work too. Sprinkle a generous amount of the coating mixture onto your work area.Unwrap marshmallows and depending on the size of your pan, you will cut or use cookie cutters to cut out the marshmallows. Coat knife in spray oil, cut marshmallows into approximately 1" squares and toss in coating mixture. For marshmallows formed in a larger pan, you have the option to cut into squares (you will have many more) or use a sprayed cookie cutter and cut out shapes. Depending on your pan volume, you should yield 36-40 marshmallows.
Place coated marshmallows into a air tight container and use within a week. If you have friends like
mine, they should last approximately one day.
Package in acetate bags and tie top with ribbon. If you want to be really nice, add a small whisk and
a tin of sipping chocolate with your favorite recipe.
