Pickled Cherries - its that time again
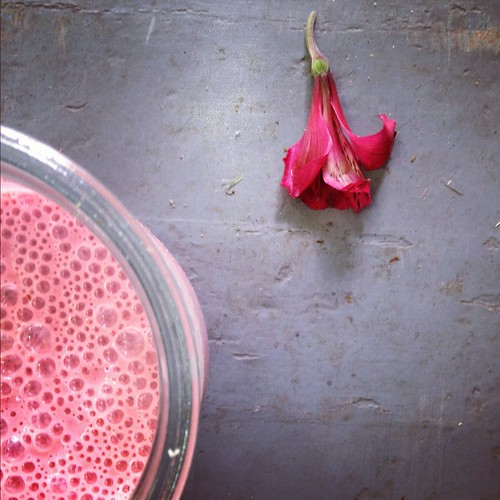
It's that time again - the freezer needs to be emptied of all the fruit preserved from the year that has passed. Smoothies are being consumed at great speed and I really will get around to making a few pies this week. Unlike other years, I did not succumb to the 40 lb box of sour cherries but will only take four lbs from someone's huge shipment.
A few years ago, I pickled some plums. I loved them. Sweet and tart and perfect with a ham or pork dish, they were also so pretty in a relish tray along with dilled beans and those exotics that come out with Aunt Maude's silver service.
Pickled fruit should not be a white tablecloth and silver candlesticks kind of a condiment that come out only for special occasions. They should appear at impromptu picnics with Mexican blankets and melmac plates.
The pickled cherries are easy and quick to make. The pickling process is trivially easy. Because they are not processed in a hot water bath, they will need to be refrigerated for storage. I haven't seen a good recipe for hot water processing them, probably because they are so delicate to begin with and the heat might cause them to lose their shape.
Quick Pickled Sour Cherries (adapted from David Lebovitz and others)
Makes one pt jar and one 8 oz jar, or three eight oz jar. (You do the math for the rest of the combinations)
Note: Left over picking brine/syrup should be combined with cherry juice, and used for a nice lively shrub - a fruit drinking vinegar hack that I like to dilute with club soda. Try it and tell me what you think.
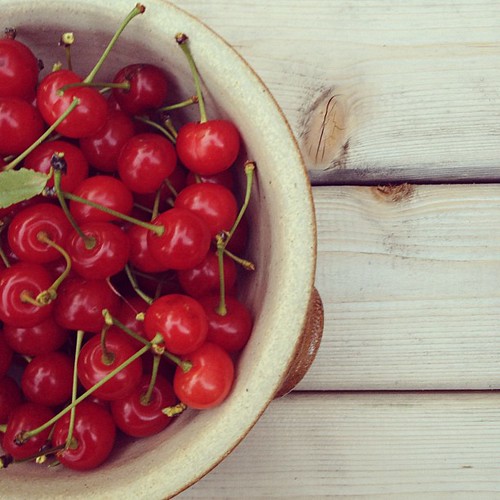
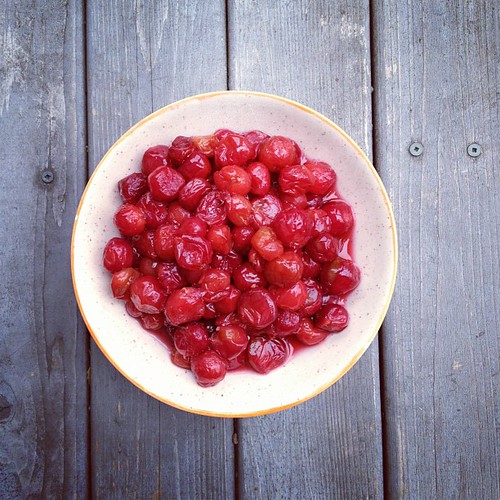
1 lb pitted sour cherries, I used frozen (reserve juice if frozen)
1 cup cider vinegar
1 cup sugar (I used organic, unprocessed)
2/3 cup water
3 bay leaves
20 whole peppercorns
10 whole allspice
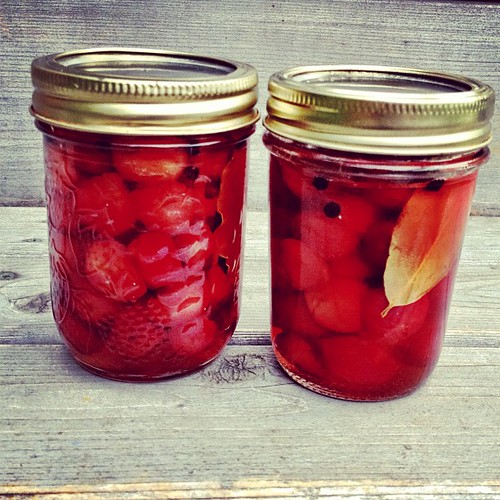
Prepare jar or jars - I use 8 oz canning jars by washing well with soap and water and hold in a 200 degree oven for 10 minutes or longer to sterilize. Place vinegar, water, sugar in a non-reactive pot and bring mixture to a boil. Remove from heat and add spices and bay leaves.
Pack cherries into jar or jars, pour liquid into jars, add one bay leaf to each jar. Be sure to leave 1/2" headspace at the top of the jar. Seal each jar with a clean and sterlized lid and ring. Place in fridge to cure. The pickling process should be completed in a week and should hold for a year in fridge. Open jars should also be refrigerated.
Use leftover brine to make a nice drinking vinegar (see note above).
Serve with ham, cheeses, a crusty baguette, a nice dry white and a side of ants.
 Nazila Merati